Sewing a cross body bag is a great way to combine style and functionality.
A cross body bag sewing pattern provides a simple way to create a practical accessory that can be customized to fit your personal taste.
Whether you need a bag for daily outings, travel, or just carrying essentials, making one yourself allows for creative freedom.
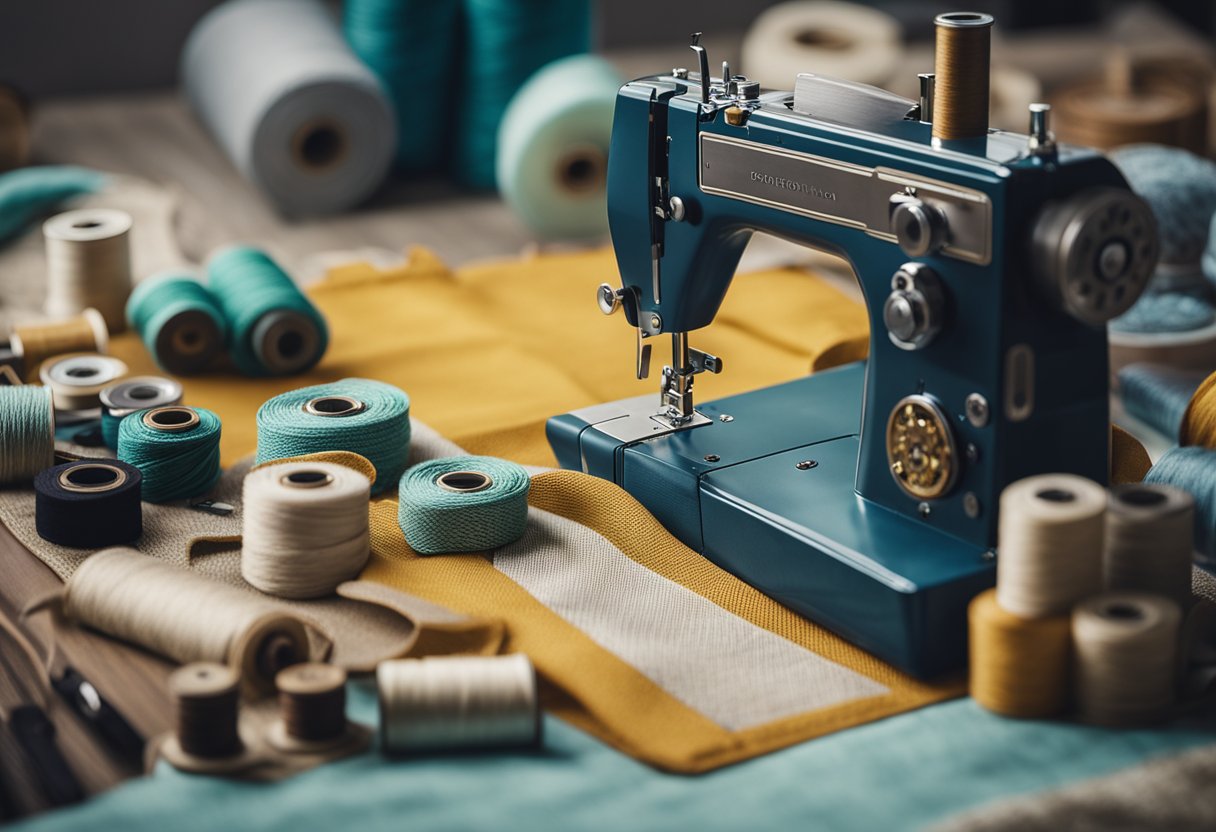
I have explored various patterns to help you find the perfect fit for your needs.
Each design can be tailored with different fabrics, colors, and sizes, making it easy to stand out while enjoying hands-free convenience.
Creating your own cross body bag not only saves money but also gives you a unique piece that reflects your style.
In this blog post, I will share some of my favorite cross body bag sewing patterns, along with tips to make the sewing process easy and enjoyable.
From beginners to more advanced sewists, there’s something for everyone to create a lovely cross body bag.
Contents
- 1 Table of Contents
- 2 Understanding Cross Body Bag Designs
- 3 Tools and Materials
- 4 The Sewing Pattern
- 5 Constructing the Bag
- 6 Structured Features
- 7 Finishing Touches
- 8 Sewing Techniques
- 9 Care and Maintenance
- 10 Additional Resources
- 11 FAQs:
- 11.1 What materials do I need for a cross body bag sewing pattern?
- 11.2 Is a cross body bag sewing pattern suitable for beginners?
- 11.3 Where can I find a good cross body bag sewing pattern?
- 11.4 Can I customize a cross body bag sewing pattern?
- 11.5 How long does it take to complete a cross body bag sewing pattern?
- 11.6 What types of fabric work best for a cross body bag sewing pattern?
Table of Contents
Understanding Cross Body Bag Designs
Cross body bags offer a blend of style and practicality. I find their designs are versatile and cater to various needs, from casual outings to travel.
Key aspects include their defining features, the popular styles and sizes, and the best types of fabrics to use.
Defining Characteristics
Cross body bags are unique due to their long strap that allows them to be worn across the body. This design helps distribute weight evenly, making them comfortable for long-term wear. The bag typically rests at the hip, keeping it close and secure.
Important features to consider include:
- Adjustable Strap: Provides flexibility in length for different users.
- Size Options: Available in small, medium, and large, serving different purposes.
- Closure Types: Zippers, snaps, or magnetic closures ensure the contents are secure.
Understanding these characteristics helps in selecting or designing a cross body bag pattern that meets my specific needs.
Popular Styles and Sizes
There are various styles of cross body bags, each with its own purpose.
I often look for options that suit my lifestyle and personal taste. Some popular styles include:
- Messenger Bags: Ideal for carrying larger items, often favored by students and professionals.
- Sling Bags: Smaller and more compact, perfect for essentials when out and about.
- Convertible Bags: These versatile designs can change form, offering multiple carrying methods.
Sizes can range from mini bags that hold just essentials to larger options designed for travel. Choosing the right style and size is crucial for functionality and comfort.
Fabric Selection
Selecting the right fabric is key to both the durability and look of the cross body bag.
I often consider various fabric types based on the intended use:
- Canvas: Strong and durable, perfect for everyday use.
- Leather: Offers a classic, stylish look but requires more upkeep.
- Nylon: Lightweight and water-resistant, great for travel bags.
I also pay attention to the fabric weight, texture, and pattern to ensure it complements my design.
The right fabric can enhance a cross body bag pattern and make a significant difference in its overall appeal.
Tools and Materials
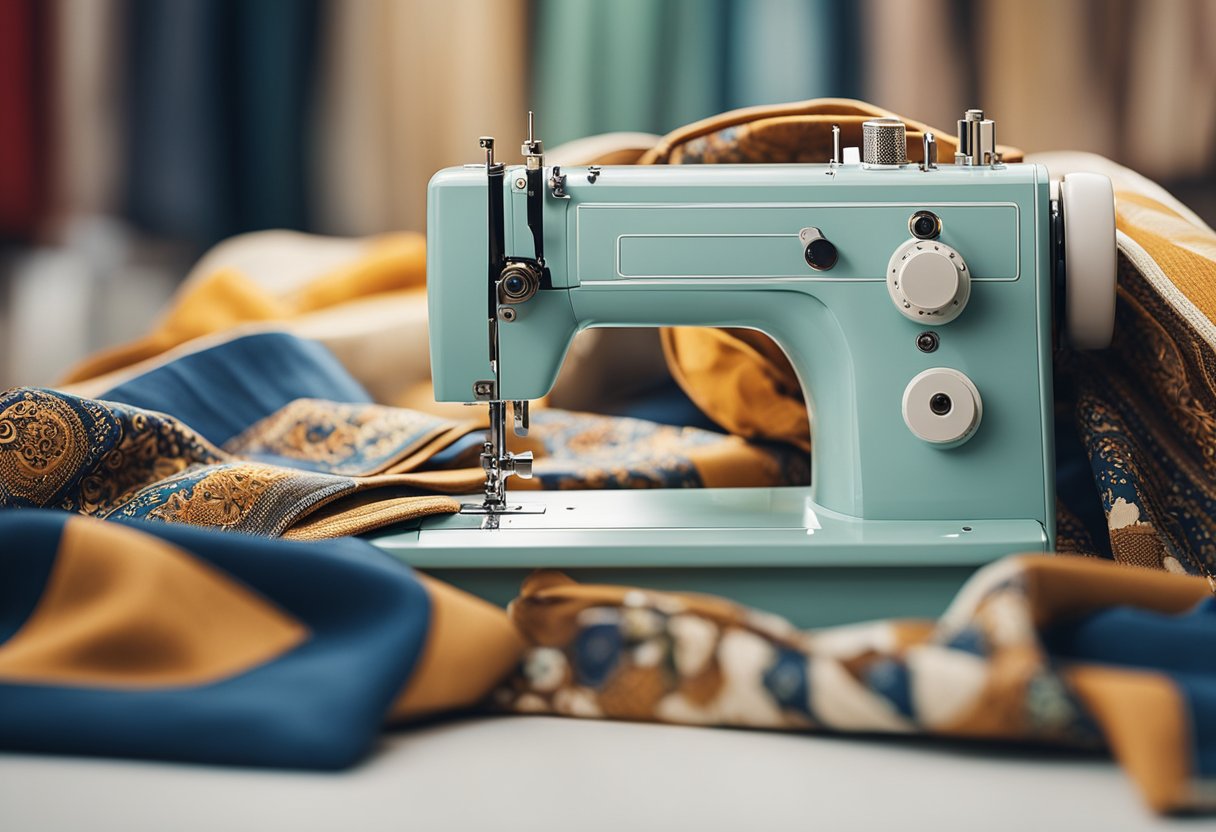
When making a cross body bag, having the right tools and materials is essential. They ensure that the sewing process is smooth and that the final product is durable and looks great. Here’s what you need to get started.
Essential Sewing Tools
To begin, gather these essential tools:
- Sewing Machine: A reliable machine is crucial for sewing thick fabrics.
- Rotary Cutter and Cutting Mat: These tools help in making precise cuts.
- Pins and Clips: Use these to hold fabric pieces together securely.
- Measuring Tools: A ruler and fabric measuring tape are important for accuracy.
- Scissors: Sharp fabric scissors are necessary for cutting threads and fabric.
- Iron and Ironing Board: Pressing seams flat makes sewing easier and more professional.
These tools will significantly improve my sewing experience and the quality of my cross body bag.
Choosing Fabrics and Interfacing
Selecting the right fabrics is vital for the structure and appearance of the bag.
I often prefer durable materials such as canvas or denim for the outer layer. These fabrics can withstand everyday wear and tear.
For the lining, a lighter fabric like cotton works well.
I also pay close attention to interfacing. It adds stability to the bag.
I typically choose a medium-weight interfacing that complements my outer fabric. Using interfacing in the straps can enhance comfort and durability.
Hardware and Accessories
Hardware adds functionality and style to the cross body bag. I use:
- Zippers: A sturdy zipper keeps the bag secure. I often opt for metal zippers for strength.
- D-Rings and Clips: These are essential for attaching straps.
- Strap Adjusters: They allow me to change the strap length for comfort.
- Buckle: This adds an extra design element and function.
Additionally, I consider decorative elements like patches or embroidery to personalize the bag.
Choosing the right hardware and accessories can enhance both function and style.
The Sewing Pattern
When working with a cross body bag sewing pattern, understanding how to interpret the pattern symbols and properly layout the fabric is essential. These skills help ensure an accurate and efficient sewing process.
Reading Pattern Symbols
Pattern symbols provide important instructions for cutting and sewing.
I always take time to familiarize myself with these symbols. Each shape and marking conveys specific information, such as cutting lines, sewing lines, and notches.
For example, a solid line usually indicates where to sew, while a dashed line may show cutting lines. Notches help align fabric pieces.
It’s helpful to refer to the pattern key, which explains each symbol’s meaning.
Understanding these symbols prevents mistakes and ensures all pieces fit together correctly.
I find that keeping this information handy while sewing makes the process smoother.
Layout and Cutting
Proper layout and cutting of the fabric are key steps in creating a cross body bag.
I like to lay out my fabric on a flat surface before cutting.
First, I ensure the fabric is pre-washed and pressed. This prevents shrinkage and ensures clean edges.
Next, I follow the cutting guide provided in the pattern. I position the pattern pieces on the fabric, paying close attention to the grainline arrows and fold lines. Using weights or pins can help keep the pieces in place.
To cut, I use sharp scissors for clean edges. I take care to cut accurately along the lines, as this affects the fit of the final bag.
I also mark any important details, like pocket placements, directly on the fabric.
Constructing the Bag
When constructing a cross body bag, I focus on assembling the exterior, creating the lining, and attaching the straps. Each step is crucial for the overall quality and functionality of the bag.
Assembling the Exterior
To assemble the exterior of the bag, I start by cutting out the fabric pieces according to my chosen cross body bag sewing pattern. I ensure that I have all necessary pieces, like the front, back, and sides.
After that, I prepare my sewing machine and threads that match the fabric.
I sew the main fabric pieces together, starting with the sides attached to the front and back panels. I use a straight stitch and maintain a consistent seam allowance.
If my pattern has pockets, I stitch those in place before joining the full exterior. Ironing the seams flat gives a neat finish.
Creating the Lining
Next, I create the lining for my cross body bag.
I cut the lining pieces, which should match the dimensions of the exterior. Usually, I use a lightweight fabric, as it helps keep the bag from becoming too bulky.
I sew the lining pieces together, just like I did with the exterior.
It’s important to leave an opening in the bottom of the lining to turn the bag inside out later. Once the lining is complete, I press the seams for a polished look.
Attaching the Straps
Attaching the straps is the final step in my bag construction.
I cut the straps according to the pattern instructions, making sure they are the right length for a comfortable fit.
I typically use sturdy webbing or fabric for durability.
To attach the straps, I fold the ends and stitch them securely to the exterior of the bag. I reinforce the stitching for added strength, as the straps will bear the weight of the bag.
After I attach both straps, I turn the bag right side out through the opening in the lining. Finally, I tuck the lining into the bag, ensuring everything looks tidy.
Structured Features
When creating a cross body bag sewing pattern, incorporating structured features is essential for both functionality and style. I focus on two main aspects: making pockets and inserting zippers and closures.
These elements enhance the bag’s usability and look, ensuring that it meets various needs.
Making Pockets
I find that pockets are crucial for organization in any bag. For a cross body bag, consider different types of pockets:
- Interior Pockets: These can hold items like phones or wallets. I prefer to add them along the lining for a sleek look.
- Exterior Pockets: I often place one on the front for easy access to items like keys.
To construct a pocket, I cut two pieces of fabric, sew them together, and then attach them to the main bag body using straight stitching.
Make sure the pockets are the right size for your intended use, as this affects the bag’s functionality.
Inserting Zippers and Closures
Inserting zippers and closures can seem tricky, but it adds a polished finish to my cross body bag. Here are my tips for success:
- Zipper Types: Use regular zippers for interior pockets and zippers with pulls for main compartments. I often choose nylon zippers for durability.
- Placement: I like to position the zipper at the top of the bag. This allows for easy access while keeping items secure.
To insert a zipper, I lay it face down on the fabric, pin it, and sew along the edges.
Afterward, I fold the fabric over the zipper to create a clean look.
Closure options like magnetic snaps or button clasps can provide extra security and style to the design.
Finishing Touches
Adding the final touches to my cross body bag can make a significant difference in its appearance and functionality. I focus on key details like topstitching, final assembly, and decorative elements to ensure the bag stands out.
Topstitching Tips
Topstitching is an essential step that enhances both the look and strength of my bag.
I often use a contrasting thread color to create a bold effect. This not only adds style but also reinforces seams.
When I topstitch, I keep my stitches even and about 1/8” from the edge.
For best results, I use a walking foot, which helps prevent fabric from shifting.
It’s crucial to practice on scrap fabric first to make sure my tension and stitch length are perfect.
Final Assembly
During final assembly, I ensure all pieces fit together smoothly.
I start by aligning all edges carefully. Pinning helps keep layers from shifting.
I make sure to check that the straps are securely attached. For added strength, I often sew back and forth over the strap points.
Next, I focus on the lining.
I insert it inside the bag, right sides together, and pin around the top edge.
I leave a small opening for turning the bag inside out. After stitching around the top edge, I turn the bag right side out and press the seams for a clean finish.
Adding Decorative Elements
Decorative elements add a personal touch to my cross body bag. I might choose to add a patch, embroidery, or fabric paint to create unique designs.
If I decide to add a patch, I ensure it is securely stitched on to avoid peeling off.
For embroidery, I usually select simple patterns that complement the bag.
I recommend using different stitching techniques, such as backstitch or satin stitch, for varied textures.
Lastly, I might attach a keychain or charm to the zipper for added flair. These small details can transform a simple bag into a stylish accessory.
Sewing Techniques
When making a cross body bag, choosing the right sewing techniques is crucial. I focus on seam types, reinforcing seams, and troubleshooting common issues that may arise during the sewing process.
Seam Types and Finishes
I often use different seam types for durability and style.
The straight seam is the most common and works well for most. To finish edges, I recommend using a zigzag stitch or a serger for a clean look.
Another option is the French seam, which encloses raw edges for a neat finish. This is useful when using lightweight fabrics.
For added texture, consider using a topstitch along the seam. This not only secures the seam but also adds visual interest to the bag.
Reinforcing Seams
Reinforcing seams is essential, especially in areas that will bear weight, like straps.
I typically use double stitching for added strength.
Another technique is to apply interfacing to areas like the bag opening or base, which provides extra support.
For heavier fabrics, I might use a bar tack, which is a small zigzag stitch applied to stress points. This ensures the seams hold well over time.
I also ensure the seams are pressed open for a professional finish.
Troubleshooting Common Issues
I encounter several common issues when sewing cross body bags.
One frequent problem is puckering along the seams.
To avoid this, I ensure I’m using the correct tension on my sewing machine and selecting the right stitch length.
Another issue is fabric slipping.
Using a walking foot can help keep layers together as I sew.
If I have trouble aligning pieces, I pin them and sew slowly to maintain accuracy.
Lastly, if the lining does not sit correctly, I check that I’ve cut it accurately and that the seam allowances are consistent. This helps the bag maintain its shape and functionality.
Care and Maintenance
To keep my cross body bag in great shape, regular care is key. Here are some tips I follow:
Cleaning:
- Use a damp cloth to wipe the exterior regularly.
- For fabric bags, consider gentle machine washing or hand washing based on the material.
- Always check care instructions with your specific sewing pattern.
Storage:
- When not in use, store my bag in a cool, dry place.
- Avoid placing heavy items inside, as this can cause distortion.
Repairs:
- Inspect the bag for any signs of wear.
- If seams come loose, I mend them quickly to prevent further damage.
- Replace zippers or hardware when necessary to maintain functionality.
Waterproofing:
- For fabric bags, I treat them with a waterproof spray to protect against spills.
- Leather bags can benefit from a conditioner to keep the material supple.
Drying:
- If my bag gets wet, I air dry it away from direct sunlight to prevent fading.
- Stuffing it with paper can help retain its shape while drying.
Additional Resources
If you’re looking to expand your skills in making a cross body bag, there are many great resources available. Here are some that I find particularly helpful:
- Free Patterns: Websites like HelloSewing offer over 20 free cross body bag patterns. These include various styles to suit different tastes.
- Sewing Guides: The site SewCanShe provides a list of patterns ideal for different occasions. It’s a treasure trove of inspiration.
- Video Tutorials: YouTube has many video tutorials that can guide you step by step through the sewing process. These make it easier to follow along.
- Community Forums: Joining sewing forums or groups online can give you access to advice from experienced sewers. Sharing tips and tricks helps improve my own sewing ability.
- Books: Consider looking for sewing books that focus on bag making. They can offer detailed instructions and patterns.
FAQs:
What materials do I need for a cross body bag sewing pattern?
To sew a cross body bag, you’ll typically need fabric, interfacing, a zipper, thread, a sewing machine, and any additional hardware like buckles or straps depending on the pattern.
Is a cross body bag sewing pattern suitable for beginners?
Yes, many cross body bag sewing patterns are designed with beginners in mind, featuring step-by-step instructions and simple techniques.
Where can I find a good cross body bag sewing pattern?
You can find cross body bag sewing patterns online on crafting websites, marketplaces like Etsy, or in sewing books at your local store.
Can I customize a cross body bag sewing pattern?
Absolutely! You can personalize your cross body bag by choosing unique fabrics, adding pockets, or altering the strap length to fit your style and needs.
How long does it take to complete a cross body bag sewing pattern?
The time required depends on the complexity of the pattern and your skill level. Simple patterns can be completed in a few hours, while more intricate designs might take a day or two.
What types of fabric work best for a cross body bag sewing pattern?
Durable fabrics like canvas, denim, or faux leather are ideal for cross body bags. For a softer look, quilting cotton or linen can also work well with proper interfacing.
